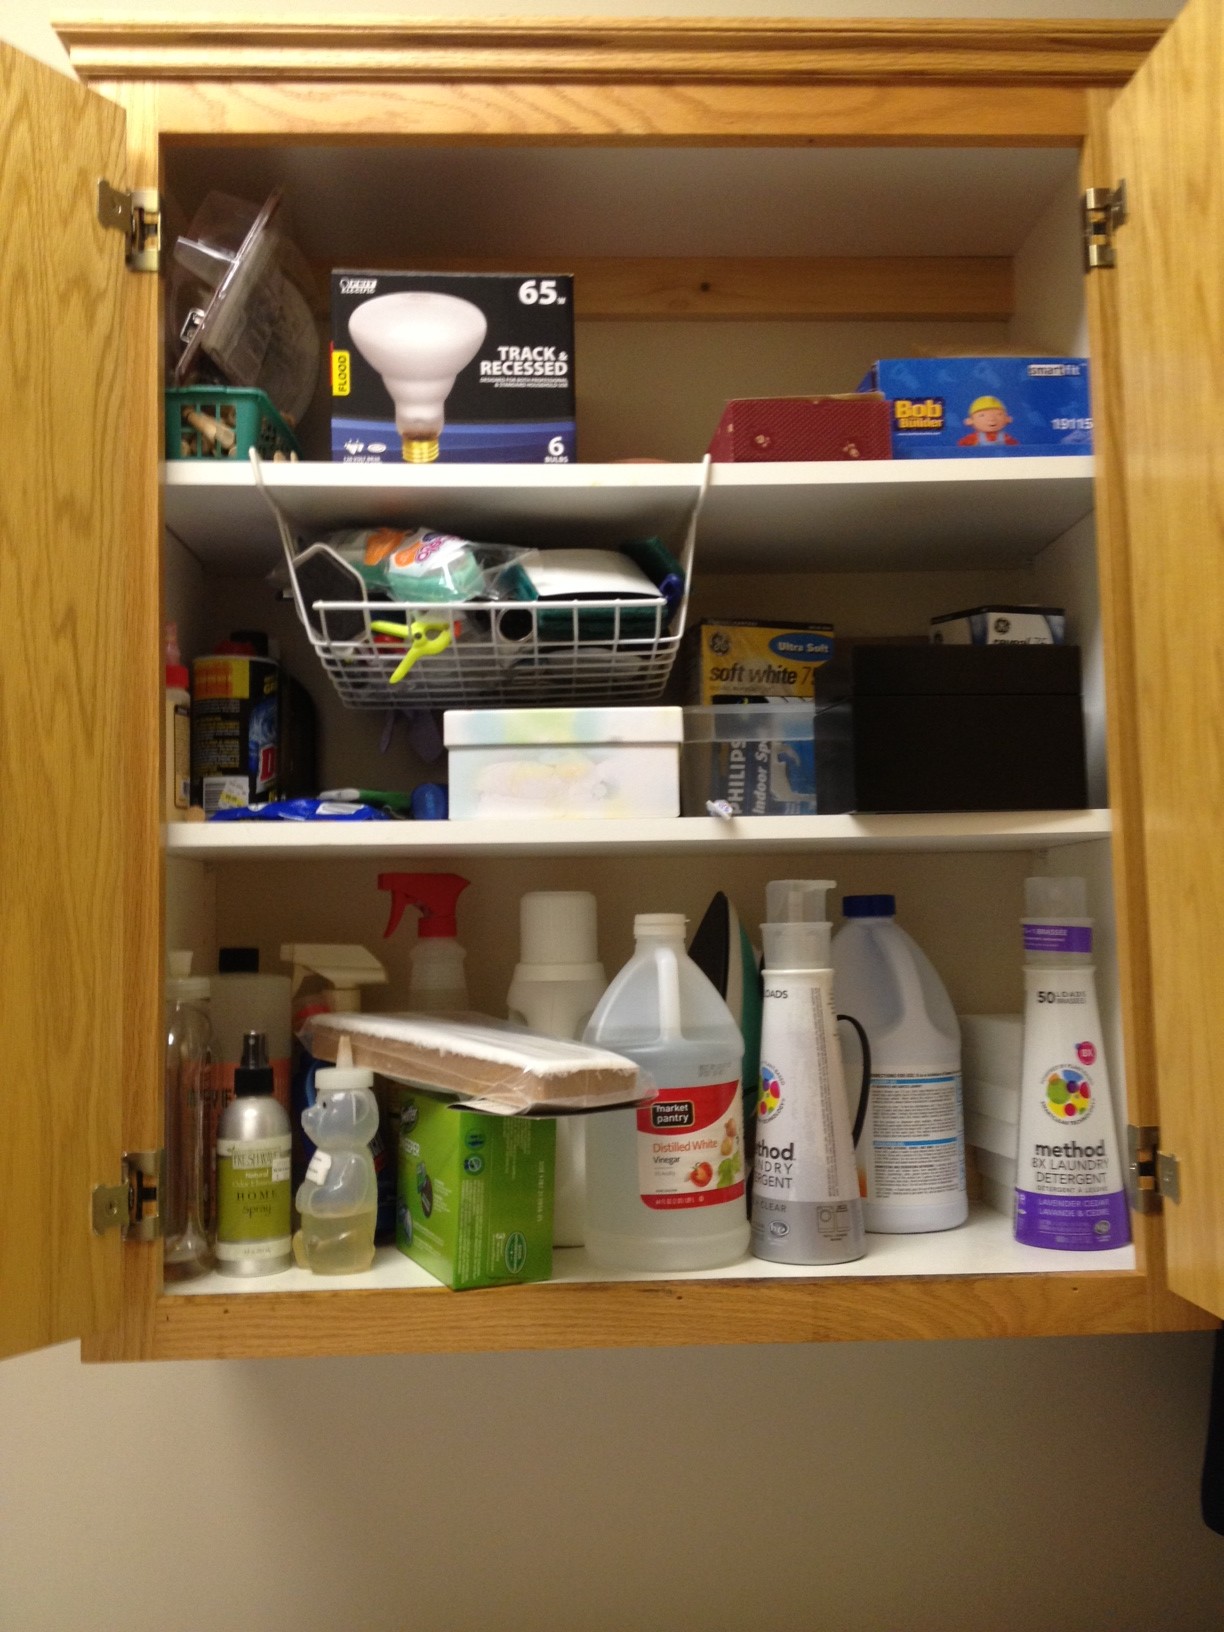
Getting started is the hardest part of the organizing process. So I recommend beginning with a small space. A laundry room cupboard is a low-time-commitment area that you can try today. Check out the photos and instructions below to see how I transformed mine in just 15 minutes.
-
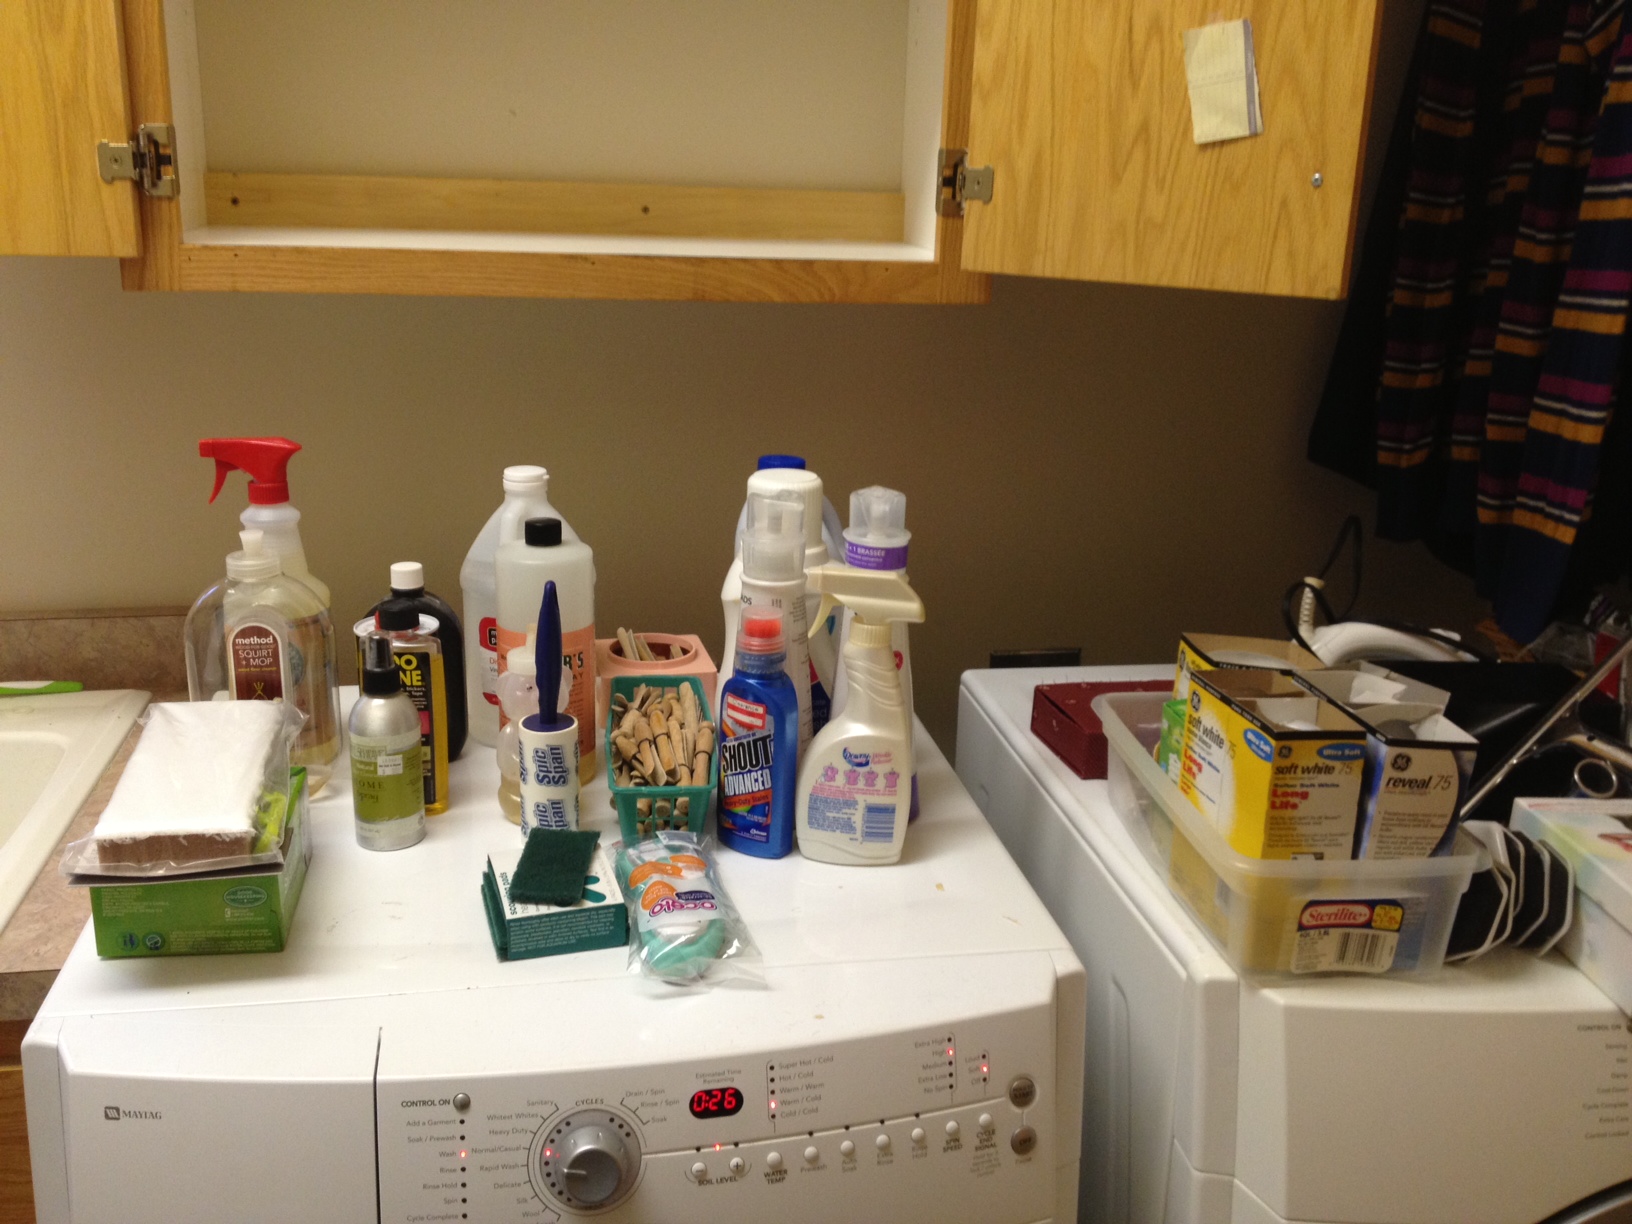
Remove everything and sort into categories. For example: laundry supplies, floor cleaning, general cleaning, lightbulbs and batteries, etc.
-
Declutter by discarding anything broken, expired, or past its prime. Anything that doesn’t fit a category needs to find an appropriate home elsewhere. (Don’t let any space become a catch-all.)
-
Wipe out cupboard. Put down shelf paper if you’re so inclined. Remember that shelves can be easily adjusted to better fit supplies.
-
Decide where items will “live.” Things you use often should be the easiest to reach.
-
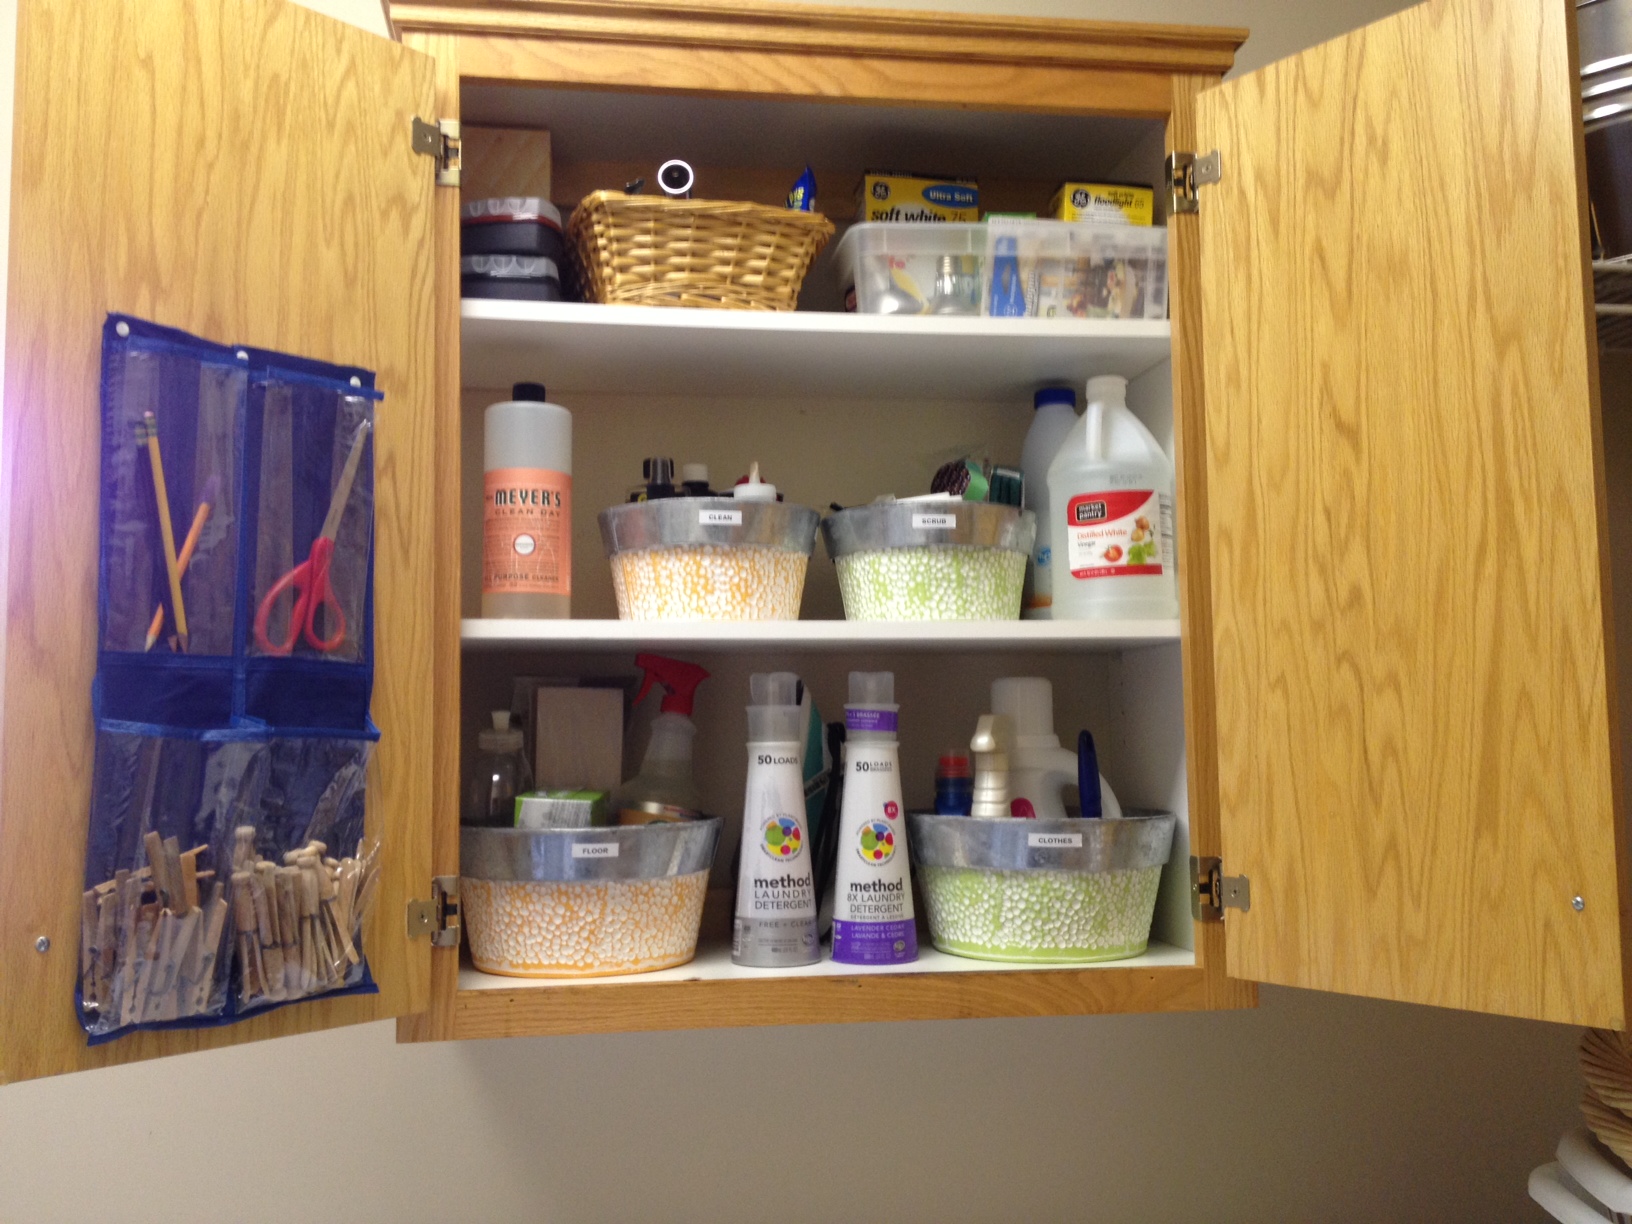
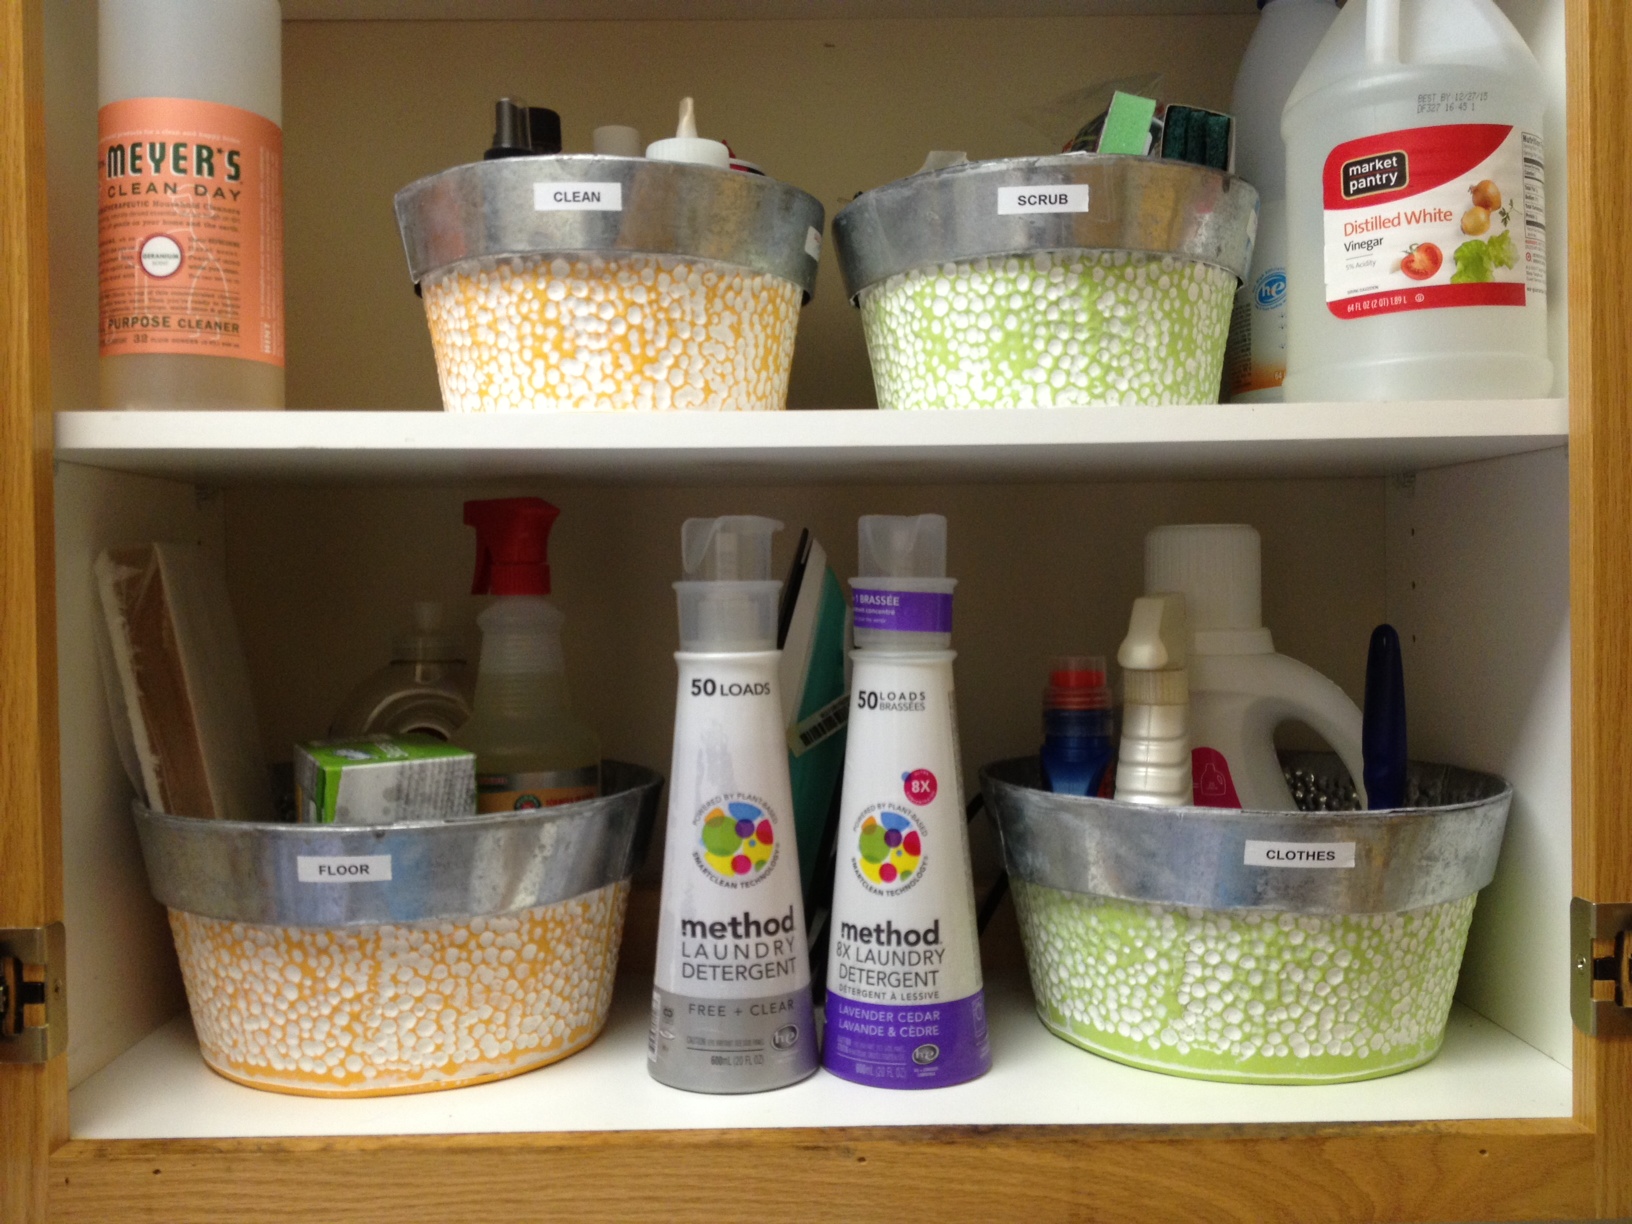
Find containers at home that you could re-use in the space, or shop for containers that can hold categories of items. Return everything to their new “homes” on the appropriate shelves and containers. And don’t be afraid to use an organizing product in a new way. For example, I snipped off four sections of a hanging shoe organizer and thumb-tacked it to the inside of the door to keep clothespins and other little necessities close at hand.
-
Label! Use a label maker or tags to label shelves and/or containers.
-
Maintain. Once each season, repeat this process to ensure it stays neat and tidy.